
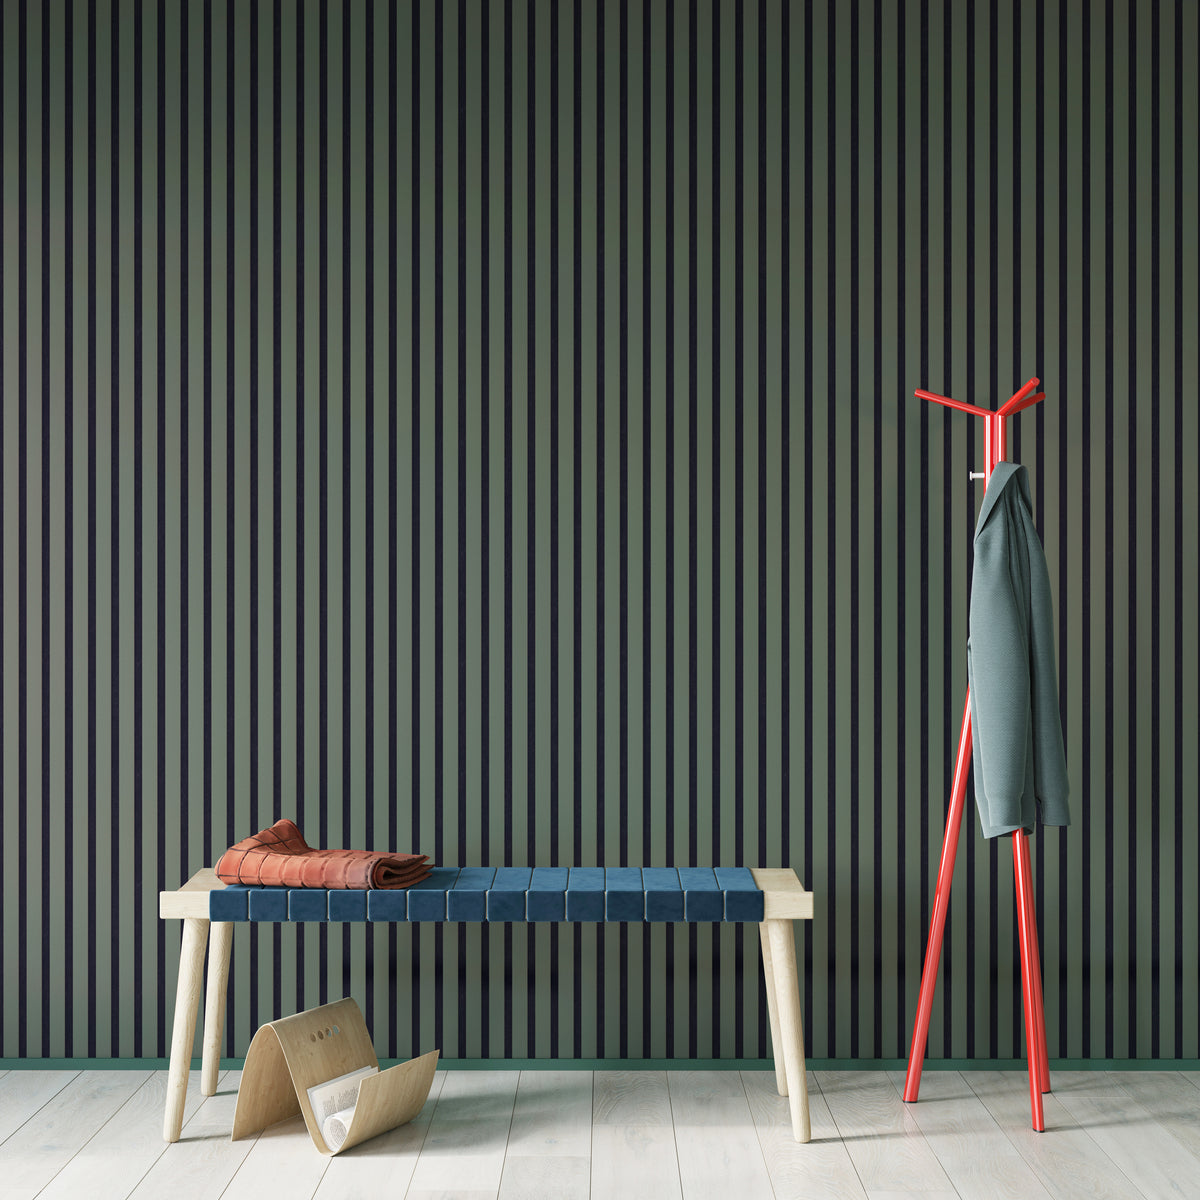
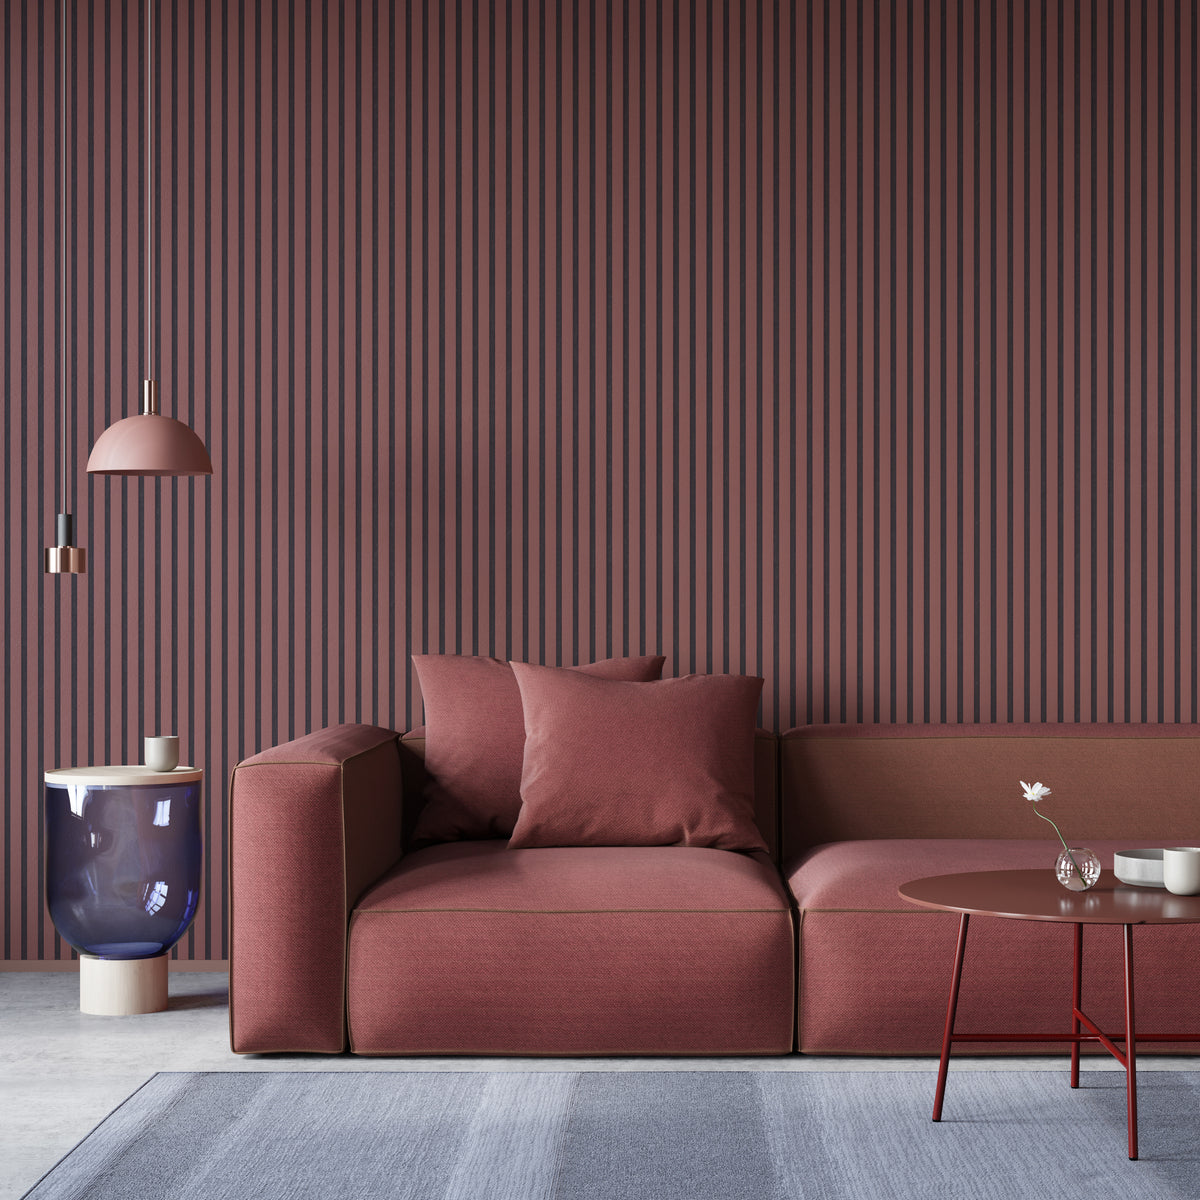
Acoustic panels are not only a modern design element, they also offer an excellent solution for improving room acoustics. In the living room, office, or bedroom, they absorb disturbing noises and create a pleasant soundscape that makes the room feel calmer and more relaxing. Especially in large rooms or rooms with lots of hard surfaces like tiles or glass, acoustic panels on the wall can work wonders. Now the only question that remains is: How do you attach acoustic panels to the wall? Isn't that very complicated? We can reassure you: Installing acoustic panels is much easier than you might think – even if a substructure is required. Whether you want to create an entire living room wall with acoustic panels or simply use them as decorative highlights – installation is easy. With the right step-by-step instructions and the right accessories, you can screw or glue the panels to the wall quickly and securely, even without any previous DIY experience. Here we show you how to attach acoustic panels to the wall and what materials you need.
Installing acoustic panels – you have these 3 options:
With acoustic panels from Momento Akustik, you can improve both the appearance and acoustics of a room. Let's now take a closer look at the question: How do you attach acoustic panels to the wall? If you want to install acoustic panels in your home, there are various mounting options available that affect not only the appearance and stability, but also the sound-absorbing effect. Depending on the method, you can achieve different sound absorption classes.
-
Direct fixing of the panels to the wall (sound absorption class C)
With this type of installation, the acoustic panels are attached directly to the wall with screws. This allows for simple and stable mounting, with sound absorption falling into Class C. This class offers good sound reduction and is ideal for living spaces, offices, or conference rooms where a certain level of noise needs to be dampened. To achieve the best possible results, the screws should be placed neatly and, if necessary, covered with cover caps. We'll show you more ways to attach acoustic panels to the wall shortly. -
Acoustic panel installation with a substructure (sound absorption class A)
A substructure made of wooden or metal strips, onto which the acoustic panels are screwed, not only provides stability for uneven walls but also allows for the integration of additional insulation behind the panels. This significantly increases the sound-absorbing properties, resulting in a sound absorption class of A—the highest class you can achieve. This substructure solution is therefore particularly suitable for areas where maximum sound reduction is required, such as home theaters, recording studios, or music rooms. -
Attach acoustic panels without screws – with adhesive (sound absorption class C)
If you want to attach the acoustic panels to the wall with a special mounting adhesive, you'll also achieve sound absorption class C. This method is practical if you don't want visible screws or prefer a particularly quick and clean installation. We'll also show you how to attach the acoustic panels to the wall this way. Please note, however, that the sound-absorbing effect is somewhat lower than that of a substructure. However, for living spaces or offices, this class is perfectly sufficient to achieve a noticeable improvement in room acoustics.
By the way: If you are still unsure which acoustic panels are best suited to your room, simply order a sample box.
This is what you need to install acoustic panels:
Installing acoustic panels on a wall may seem challenging at first glance, but it's surprisingly easy. This step-by-step guide will show you how to successfully attach acoustic panels to a wall—from planning to final installation. Before you begin installing the acoustic panels, thorough preparation is crucial. First, consider where exactly you want to attach the acoustic panels. For optimal acoustics, it's recommended to install them where sound is most strongly reflected, such as opposite large windows or on open wall surfaces. A tip : If you have an uneven wall, it may be a good idea to attach a substructure made of wooden strips to create a flat surface for the acoustic panels.
- Spirit level to align the panels straight.
- Pencil to mark the positions.
- Tape measure for precise measurements.
- Jigsaw or fine saw for cutting the panels and the substructure.
- Multitool for precise cutouts for sockets and light switches.
- Drill , for drilling the holes for the fastening screws.
- Screwdriver or cordless screwdriver for screwing in the screws during assembly.
- Dowels and matching screws for fastening the panels and substructure.
- Glue gun , for applying the glue to the panels.
- Spatula , for concealing the screws (for example on wooden acoustic panels).
- Broom or damp cloth for cleaning before (and if necessary after) installation.
Installing acoustic panels – here's how:
Before we explain how to attach acoustic panels to the wall, careful preparation is essential. To do this, we'll clean the wall thoroughly, as dust and dirt can impair the adhesion of the panels. This is especially important if you plan to glue the panels. Use a broom to remove coarse dirt, then go over the surface with a slightly damp, lint-free cloth to remove any fine dust. Make sure everything is completely dry before proceeding with the next step. Now mark the desired position of the acoustic panels on the wall. Especially for larger surfaces, it's advisable to check the markings several times with a spirit level. Take your time, as even the smallest inaccuracies could be visible later. If you want to attach the panels in a specific pattern or symmetrically, you should sketch out the position of each panel in pencil beforehand.
Cutting acoustic panels
Not every wall will fit the standard dimensions of acoustic panels perfectly, so you may need to cut the panels to size. Ideally, use a jigsaw for this, as it is particularly well-suited for precise and smooth cuts. First, measure the spots on the wall where the panels need to be adjusted and carefully mark these spots on the back of the panels. A tip for this aspect of how to attach acoustic panels to the wall: For delicate materials like wood or veneer, it can be helpful to apply tape along the cut line to prevent fraying. If electrical outlets or light switches are in the way, you will need to saw recesses into the panels. Carefully measure the size and position of the electrical outlets or switches and use a fine-tuning saw or multi-tool to cut out the spots.
Screw or glue acoustic panels
Now it's time to show you how to attach the acoustic panels to the wall. Depending on the surface, you have three installation options: You can either screw the panels directly to the wall or, if the surface is uneven, mount them on a substructure. If you choose to screw them in, select suitable dowels and screws to securely attach the panels. Also, be careful not to overtighten the screws to avoid damaging the material. Start at the top and work downwards to ensure even alignment. If you choose to glue them in, apply adhesive evenly to the back of the panels and press them firmly against the marked position until the adhesive is sufficiently set. So much for the question: How do you attach acoustic panels to the wall?
After successful installation, you should conceal any visible screws and fasteners to achieve a clean finish. Wood filler is suitable for wood panels; simply pour it into the screw holes and smooth it down. Alternatively, you can also use cover caps to elegantly conceal the screws. This way, the natural wood look of the panels is fully preserved without the fasteners being visible. As you can see, the answer to the question of how to attach acoustic panels to the wall is quite straightforward. With the right step-by-step instructions, a little patience, and the right tools, you can easily install the acoustic panels yourself, with or without a substructure. The panels not only provide a stylish wall design but also significantly improve the room acoustics. Whether you install them in your living room, bedroom, or home office, the difference in sound quality will be immediately noticeable.
Attaching acoustic panels – our extra tips for you:
Finally, we have a few valuable tips for you on the topic of "How to attach acoustic panels to the wall." A particularly exciting idea is to use the panels as a wall unit . This combines acoustic improvement with modern design and creates an elegant eye-catcher. Acoustic panels are also ideal as decorative elements in children's rooms , for example, in the form of clouds or rainbows. Just let your imagination run wild. If you're primarily practical, you can install the acoustic panels as a coat rack and thus kill two birds with one stone. By the way: It's also possible to install a power outlet in the acoustic panels. To do this, you first need to mark the position of the power outlet on the panel and cut it out precisely with a jigsaw. Then you install the appropriate flush-mounted box, and you can then attach the panels with screws or adhesive. You can then insert the power outlet into the opening and plug it in.
Cleaning & care are child's play
We don't just want to show you how to attach acoustic panels to the wall; we want to go a step further. After successful installation, the question naturally arises as to how to care for your new acoustic panels so that they remain beautiful and functional for a long time. Fortunately, maintenance is minimal. You can easily remove dust and dirt with a damp cloth or a vacuum cleaner with a brush attachment. However, be careful not to use too much moisture to protect the surface of the panels. For extra durability and a fresh shine, you can treat the acoustic panels with a special care oil . The oil protects the surface from wear and tear and preserves the natural structure of the wood. Apply it evenly and thinly before and after the heating season, let it work for about ten to fifteen minutes, and remove any excess oil with a soft cloth. Do you still have any questions about how to attach acoustic panels to the wall? Then feel free to contact us – we look forward to hearing from you!